I Brought This Strawberry Jam to Work Once. Big Mistake. Now Everyone Expects It Every Week and I Cannot Stop Making It
I never intended to become “the jam person.”
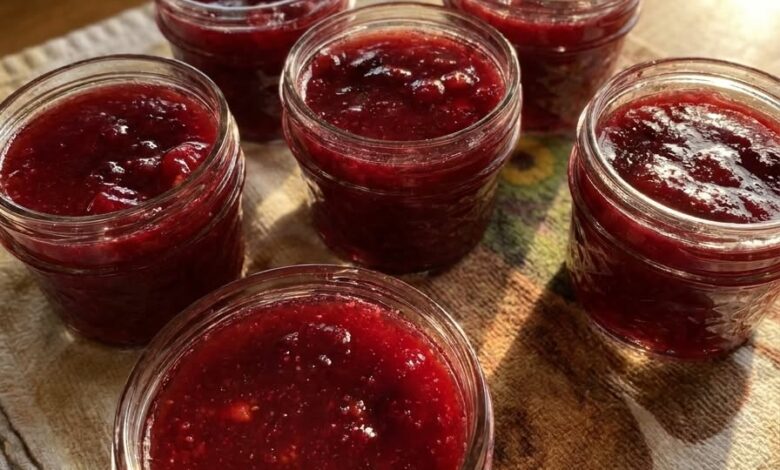
One Sunday afternoon, I found myself staring at a bowl of strawberries that were just a day or two away from being too soft to enjoy. Not wanting them to go to waste, I decided to make a simple batch of strawberry jam. I filled four small jars, kept one for myself, and brought the other three to work the next day.
I didn’t think much of it.
By mid-morning, every jar was empty.
Before lunch, several coworkers had already asked for the recipe. By the end of the week, people were messaging me to find out when I planned to make another batch. What started as a way to use up extra fruit somehow turned into a small office obsession.
Four months later, I’ve made the recipe more times than I can count. I’ve handed out jars to friends, family members, neighbors, and coworkers. I’ve written the recipe on sticky notes, sent it in text messages, and explained it over coffee breaks so many times that I practically know it by heart.
And every single time someone tries it, they ask the same question:
“Why does homemade jam taste so much better than store-bought jam?”
The answer is surprisingly simple.
Homemade jam tastes better because it starts with real, ripe strawberries at their peak flavor. There are no unnecessary fillers, no artificial ingredients, and no shortcuts. When the fruit is good, the jam is good. That’s really the secret.
Strawberry Jam Recipe
Ingredients
- 1 kilogram (about 2¼ pounds) fresh strawberries
- 750 grams (about 3¾ cups) granulated sugar
- 2 tablespoons freshly squeezed lemon juice
- Optional: ½ teaspoon vanilla extract
Choose the ripest, sweetest strawberries you can find. The quality of the fruit will determine the quality of the finished jam more than anything else.
Wash the strawberries thoroughly, remove the stems, and cut them into halves or quarters, depending on how chunky you prefer your jam.
Place the strawberries in a large bowl and add the sugar. Let the mixture sit for 30 to 60 minutes. This process, known as maceration, helps draw out the fruit’s natural juices and begins dissolving the sugar. After a short time, you’ll notice a beautiful ruby-red syrup forming in the bowl.
Transfer everything into a large, heavy-bottomed pot. Add the lemon juice and place the pot over medium heat. Stir frequently as the mixture comes to a boil.
Once boiling, reduce the heat to medium-low and simmer for 20 to 30 minutes. Stir occasionally as the jam thickens and develops a glossy texture. If foam forms on the surface, skim it off for a smoother, clearer finished product.
To test if the jam is ready, place a small spoonful on a chilled plate. Wait about 30 seconds, then push it gently with your finger. If the surface wrinkles and holds its shape, the jam is done. If it runs back together, continue cooking for a few more minutes before testing again.
Carefully pour the hot jam into sterilized jars, seal them tightly, and allow them to cool completely.
Stored in the refrigerator, the jam will keep for up to three weeks.
Ways to Enjoy It
Spread it over warm buttered toast.
Stir it into yogurt.
Spoon it over pancakes or waffles.
Layer it between cakes.
Pair it with aged cheese on a charcuterie board.
Or enjoy a spoonful straight from the jar during a late-night visit to the refrigerator—a method that may not be officially recommended, but one many jam lovers understand all too well.
One thing is almost guaranteed: it will disappear faster than you expect.
If you’re making it for family and friends, consider doubling the batch. Most people who try it end up wishing they had more.
Sometimes the simplest recipes become the ones everyone remembers.